Tip: If you draw or print the grid on another sheet of paper and put it underneath your drawing page there's no need to draw the dots on your paper. No erasing!
Here's a GRID SHEET for printing.
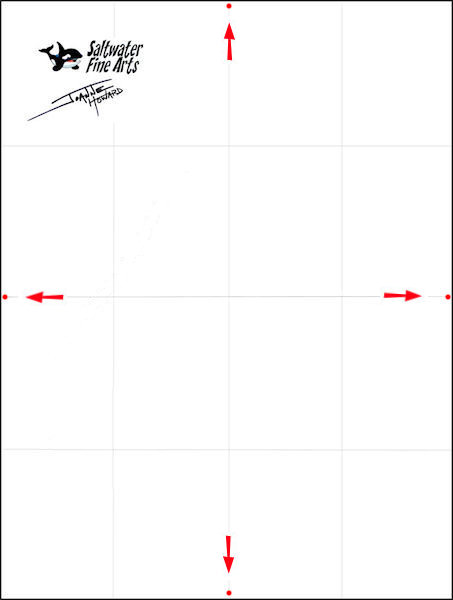
Set up your paper!
Mark the middle of each side of your paper with tiny pencil dots. (or use a drawing grid underneath your paper.)
Don't draw the red arrows!
Mark the center of each half with tiny pencil dots.
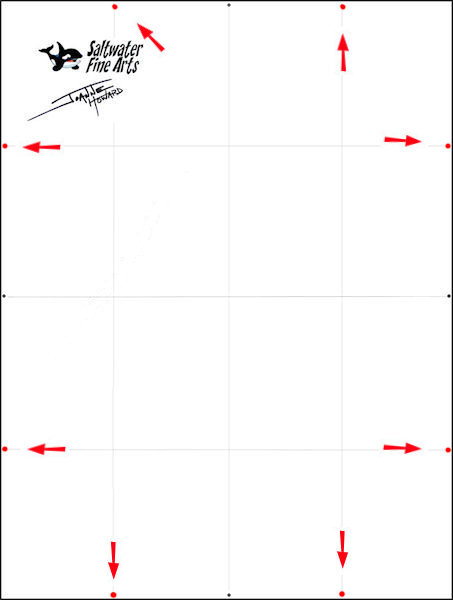
You can draw
the grid lines VERY lightly if you want to - but remember you'll need to
erase them later if you do! They will show since the background is left
white when you colour.
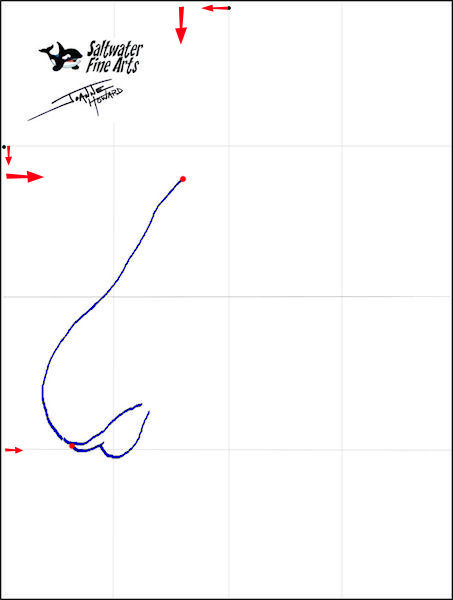
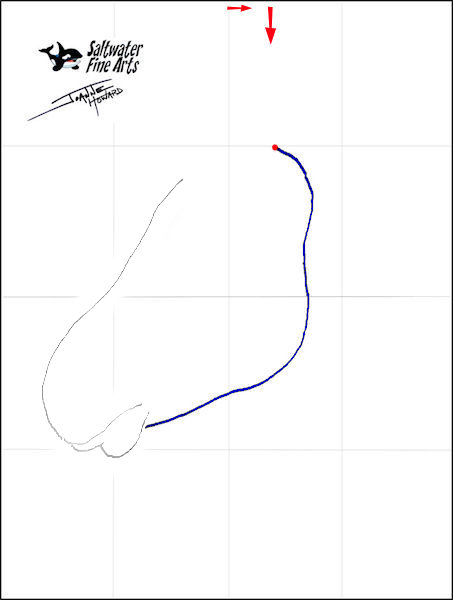
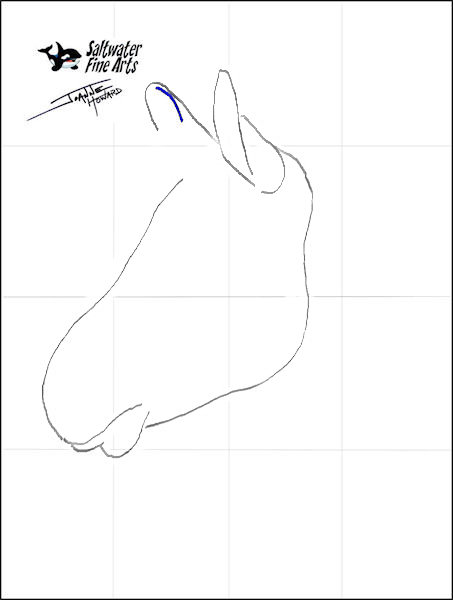
Zebra Step 1!
Find the starting spot. *Look for the helpful red arrows! (Don't draw the arrows!)
Draw a terrible letter "J" (backwards & wiggly!) Check out how far down to pull your "J". *Arrow*
Then add the bottom lip - a "W", sort of... attach it to the bottom loop of the "J".
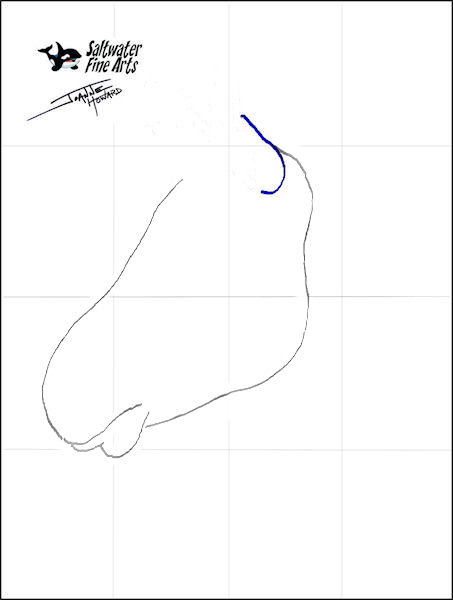
Find your starting spot. (Use the *Arrows.)
Draw a big "3" shape that goes down to meet the side of the bottom lip.
Draw a "J" shape to start the ear.
Add a loop to finish ear #1. Notice how it flows from the bottom of the "J".
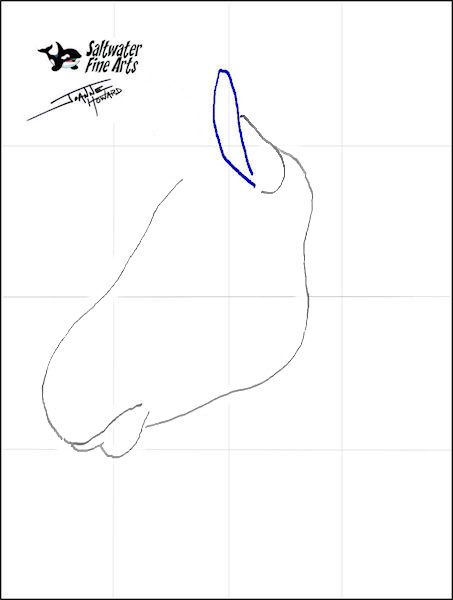
Draw an upside-down "J" for ear #2. It sticks onto the side of ear #1.
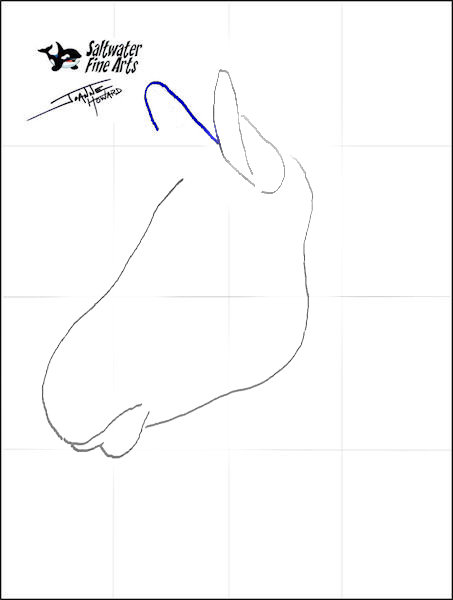
Add a swoop to finish ear #2. Don't worry about the missing part - that's where the fuzzy mane goes!

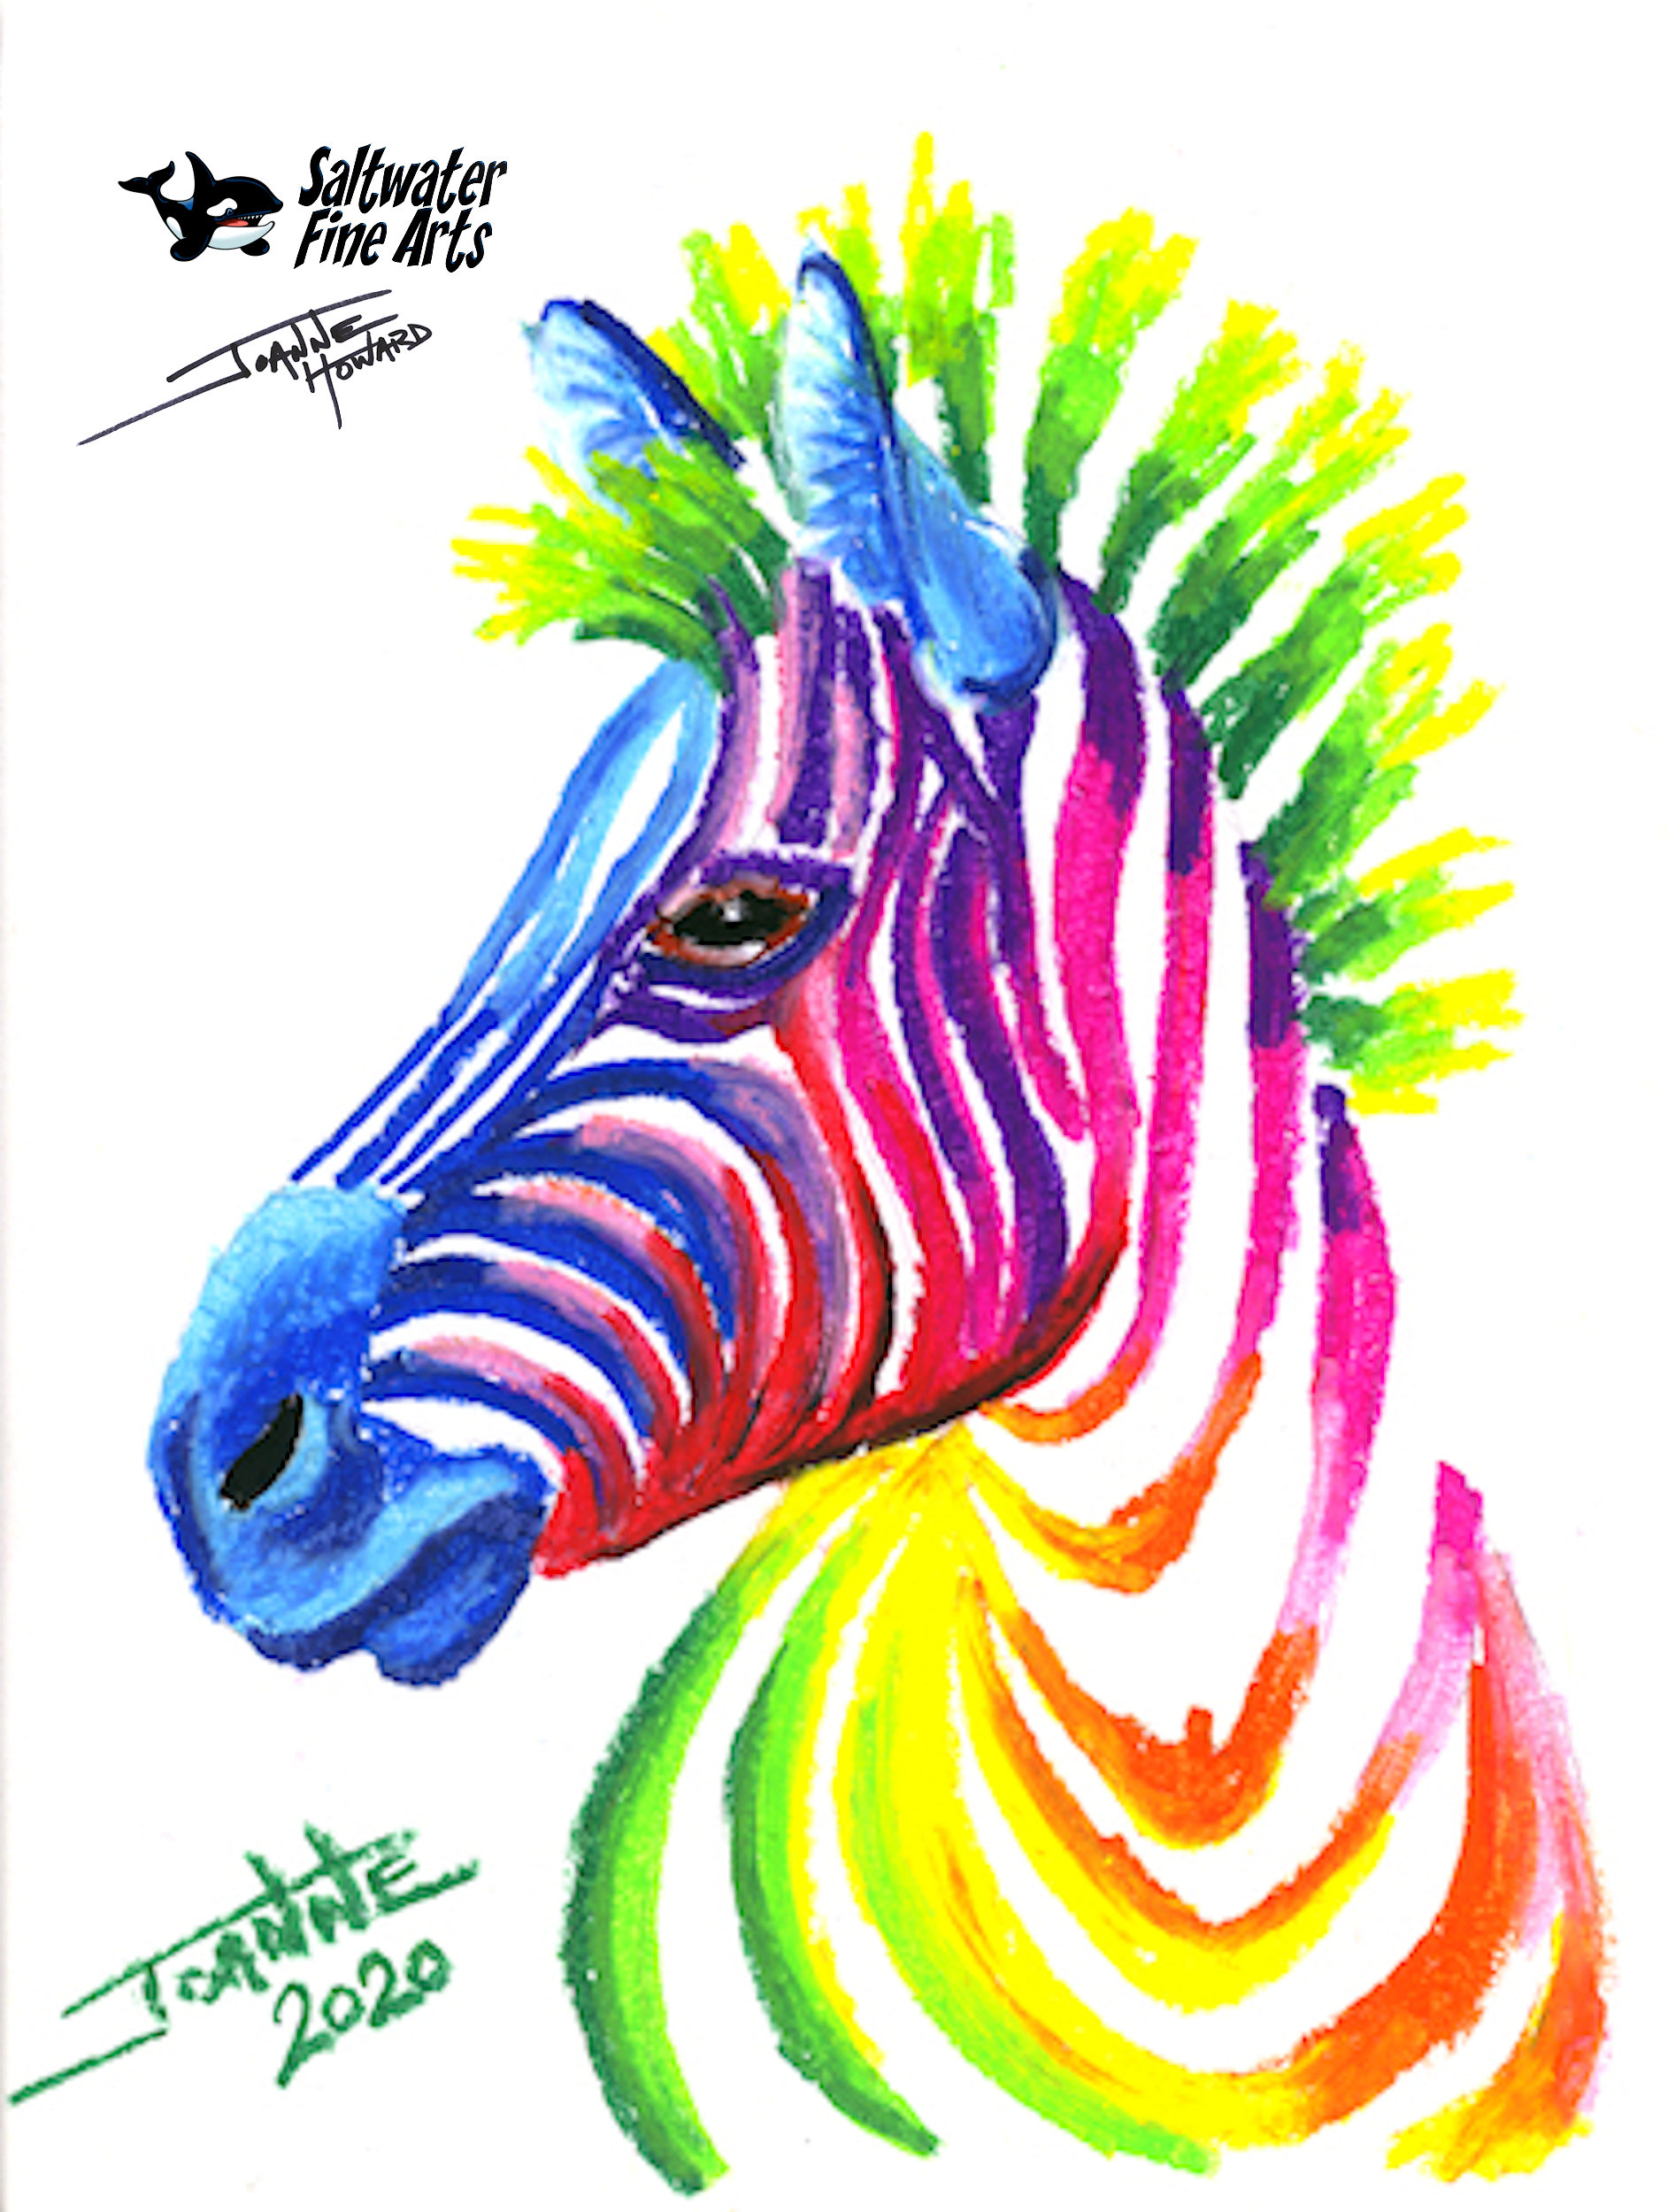 Zebra
Zebra